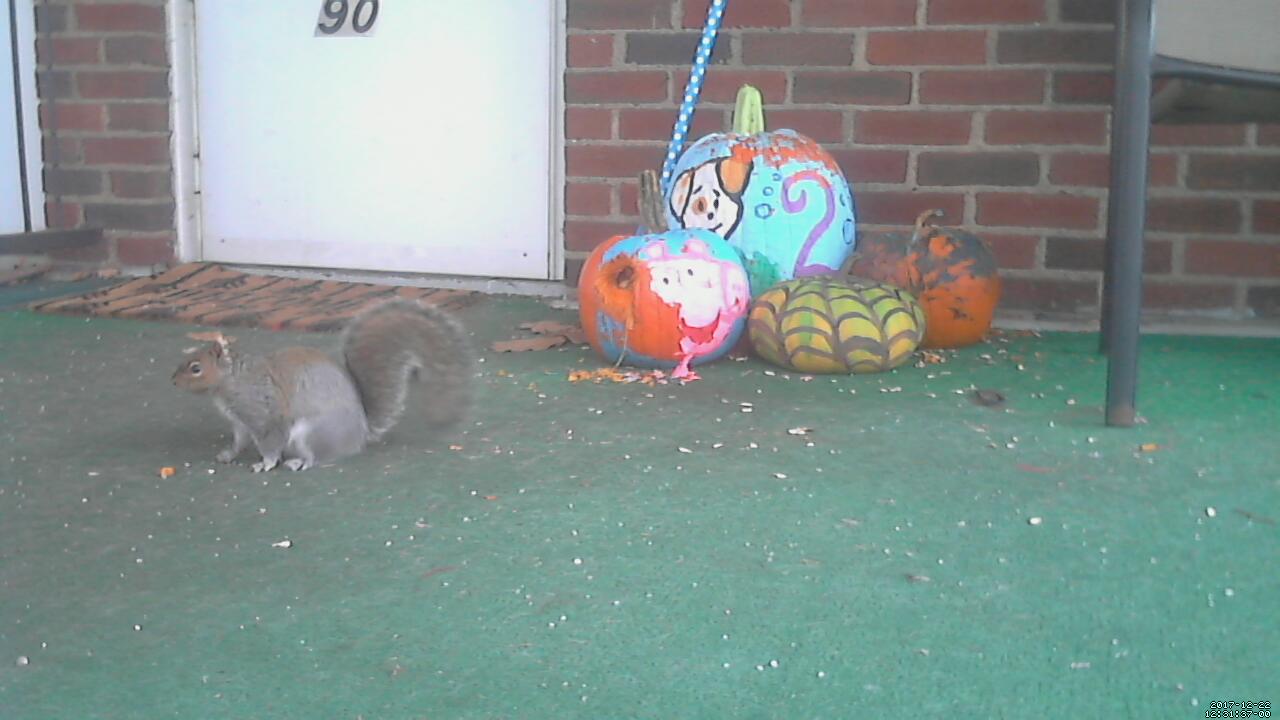
This morning I awoke and discovered that our local neighborhood squirrels have been attacking our pumpkins that have been on the porch. Not that it is a major concern, squirrels need to eat also, but this lead me to today's project. Today I decided to create the squirrel cam. Most of the functionality was already widely available, the only major thing was putting it all together. Most of the parts for this were just laying around not being used, but I'm running out of Raspberry Pi's to use in these projects. Between replacing multiple machines with one, running the 3-D printer off another, RetroPie/Kodi setups, I only have a Pi Zero W remaining. I think I'll have to find a way to rectify this at some point. Anyway, back to the squirrel camera.
Items Needed
- 3D printer
- PLA Filament
- Raspberry Pi
- USB Power Bank
- Webcam (case will mount a Logitech C310 or C270)
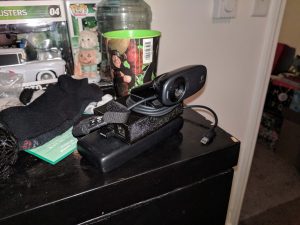 I made this myself
Next up was getting the software installed to the micro SD card. Raspbian Stretch Lite was my choice to use. Burn the image to the micro SD card in whatever way you want. Since we are going to be running the Pi headless, we need to enable SSH access before we boot the Pi. With all versions of Raspbian since Nov. 2016, ssh access is disabled by default. The way to enable it, without a display, is to create a file in the boot partition named "ssh" without quotes. This will allow us to access the pi over the network and proceed with the rest of the configuration.
Once we are connected to the network with the Pi, we will update the OS, and then install all the needed software. This Pi will be running a program called motion, which will take pictures automatically when enough pixels change in the image. Ideally, this won't cause unwanted images to be taken since I decided it will also be a Twitter bot, tweeting the images whenever a photo is taken.
Up next, we will install motion. I followed a very straightforward guide, located here. I followed along until the part where it describes adding network storage to the mix as the sd card available to me was large enough to not worry about that.
Next was deciding on how to post the photos that were taken to Twitter. This created an issue as I have never tried to run a Twitter bot before. A little bit of research later, and I found an easy to run twitter bot here. I love Github.
One key thing I found with the bot though is that the starting tweet number has to be set. It didn't want to default to 1 on the initial run, causing errors whenever I tried to start it.
Following the instructions in the readme file, I set up Twitter API access, plugged in the required information, ran the script once with the --tweetnumber variable set to 1 and success! The pi tweeted on its own. Next up, configuring cron jobs to run the script at regular intervals.
For this, I chose to have the script run every 5 minutes. Many walkthroughs exist for setting up cronjobs so this will not be covered. Lastly, we put it all together and set it up. The Squirrel cam is tweeting at @TLPorchCam
Things I want to change:
Make the squirrel cam tweet the most recent image if it hasn't been posted previously. The bot I used just picks randomly from the folder, without regard to the most recent. I guess eventually the pictures will get posted, but it isn't the most effective way in my mind.
UPDATE: Success! I have squirrel pictures. 58-20171222123131
This is what I do with days off from work!